MacBook Pro M1 Keycap Replacement Guide
- EN
- ZH-CN
Table of Contents
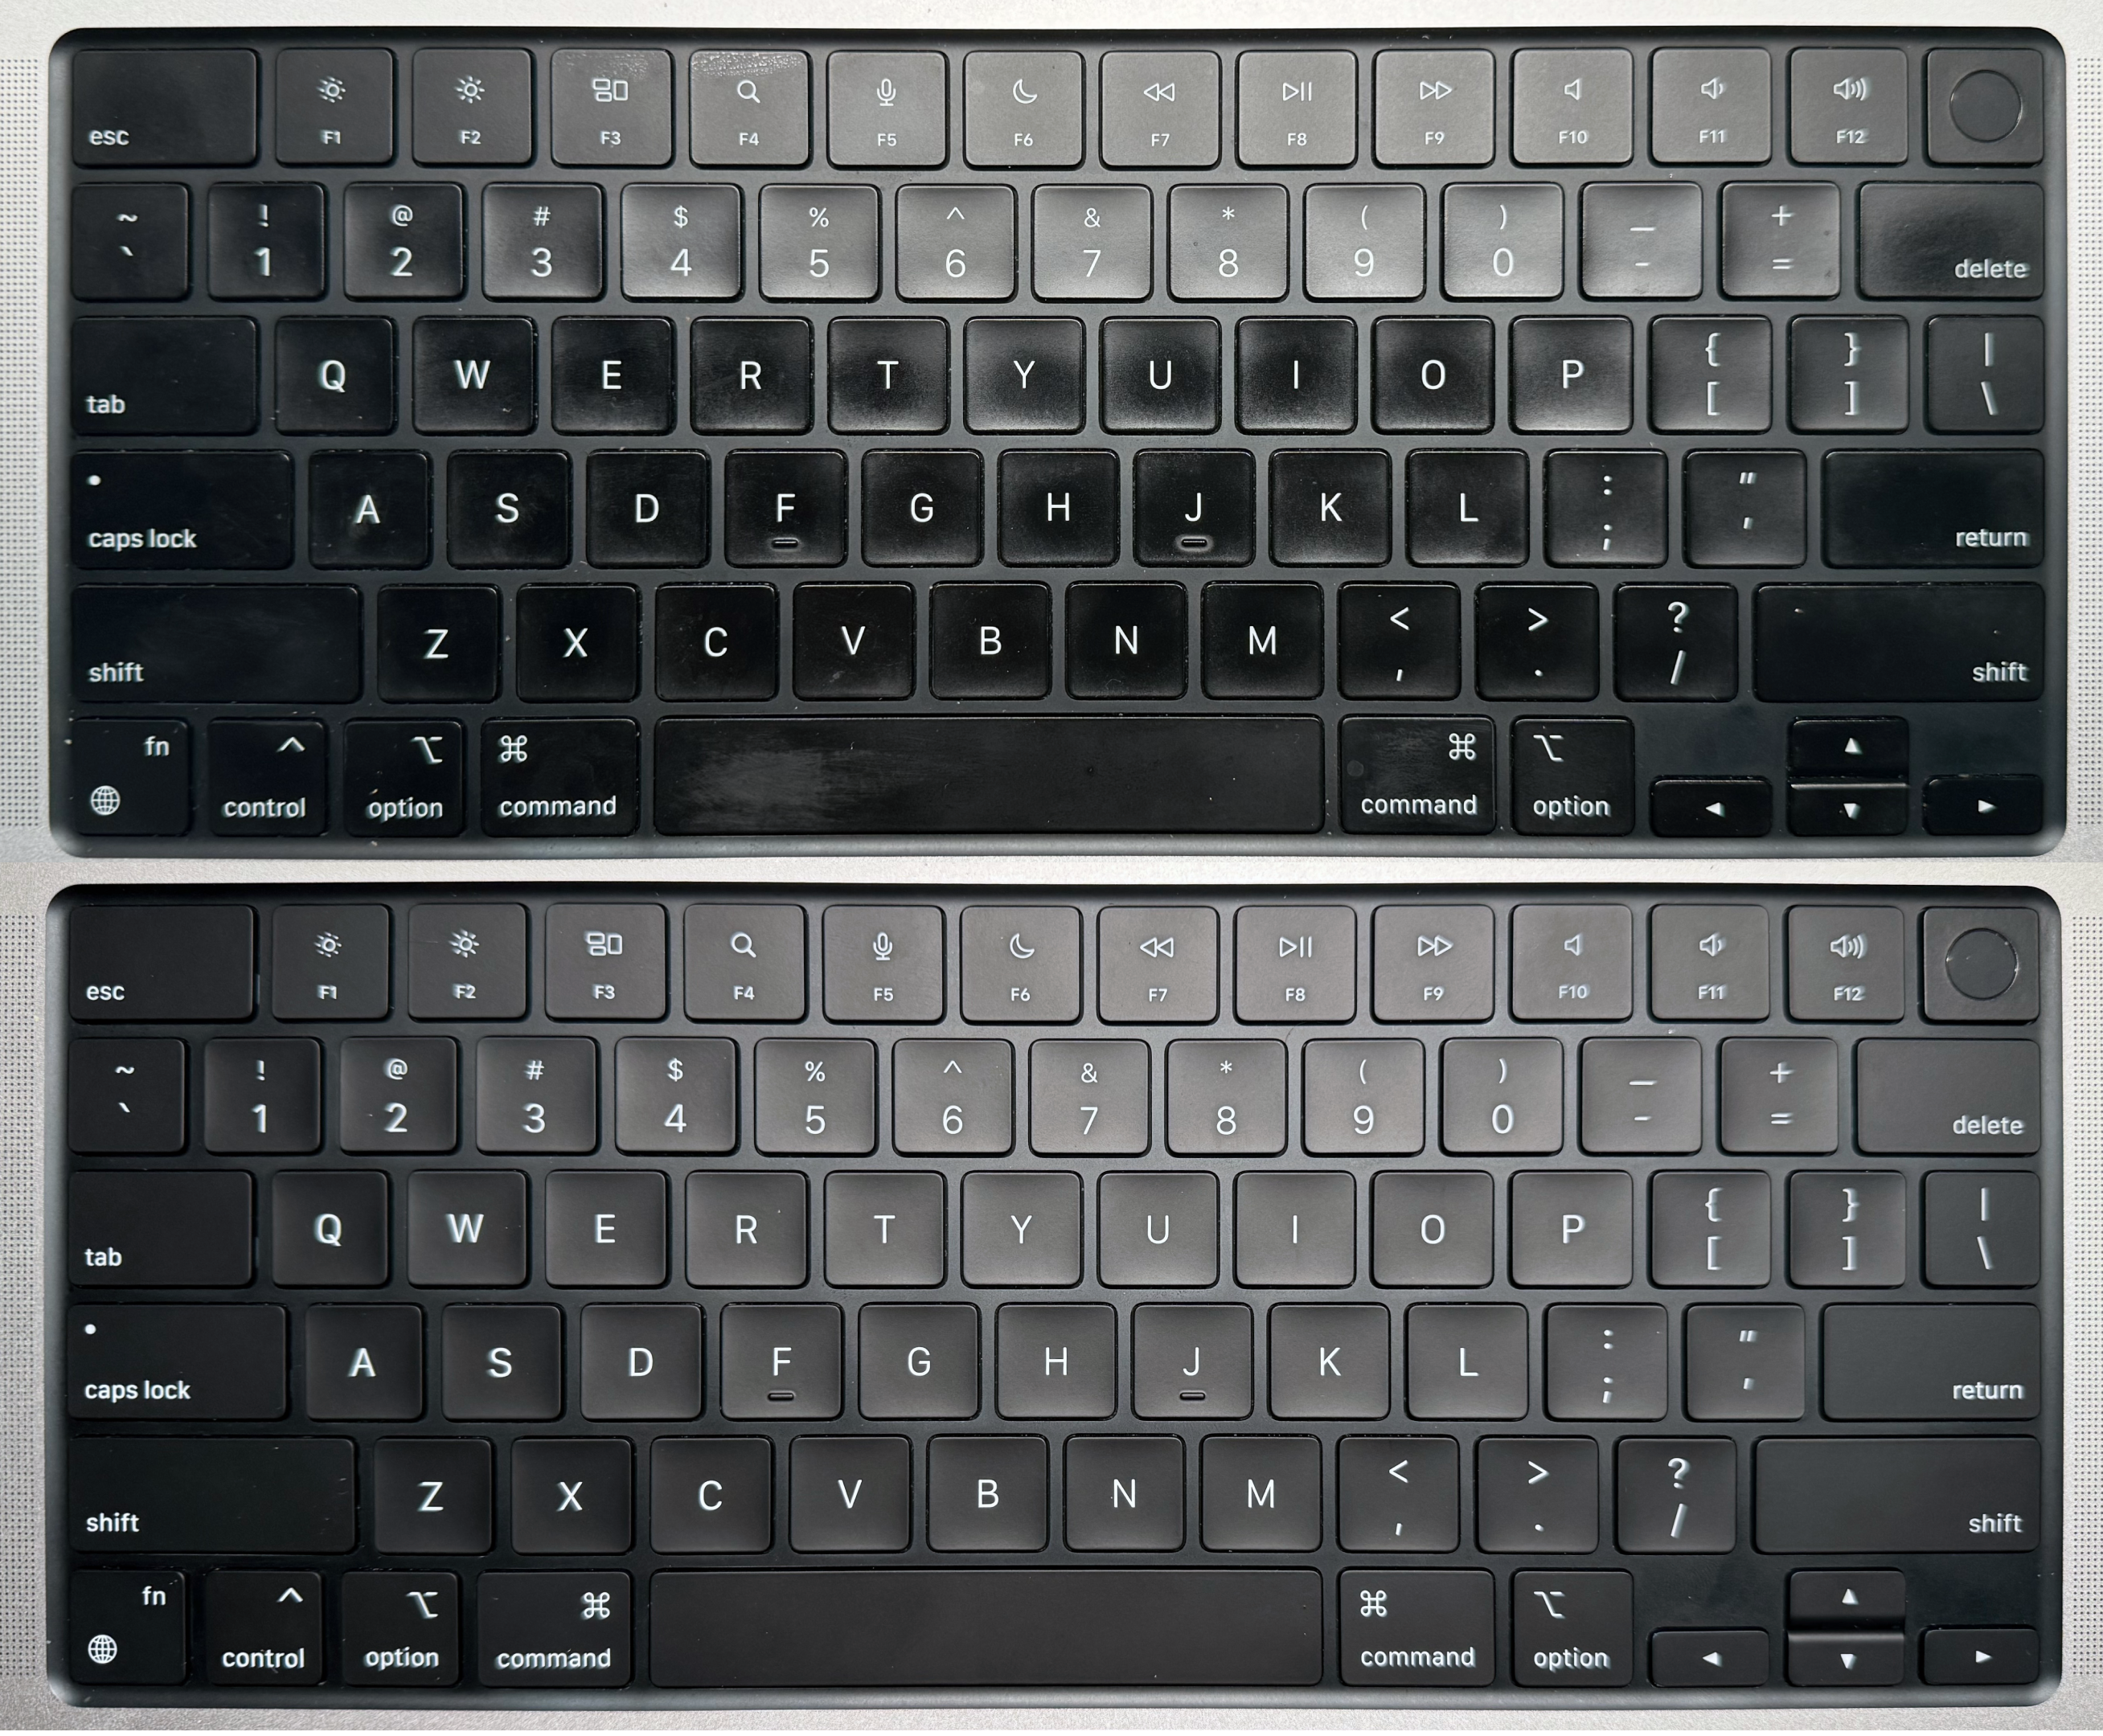
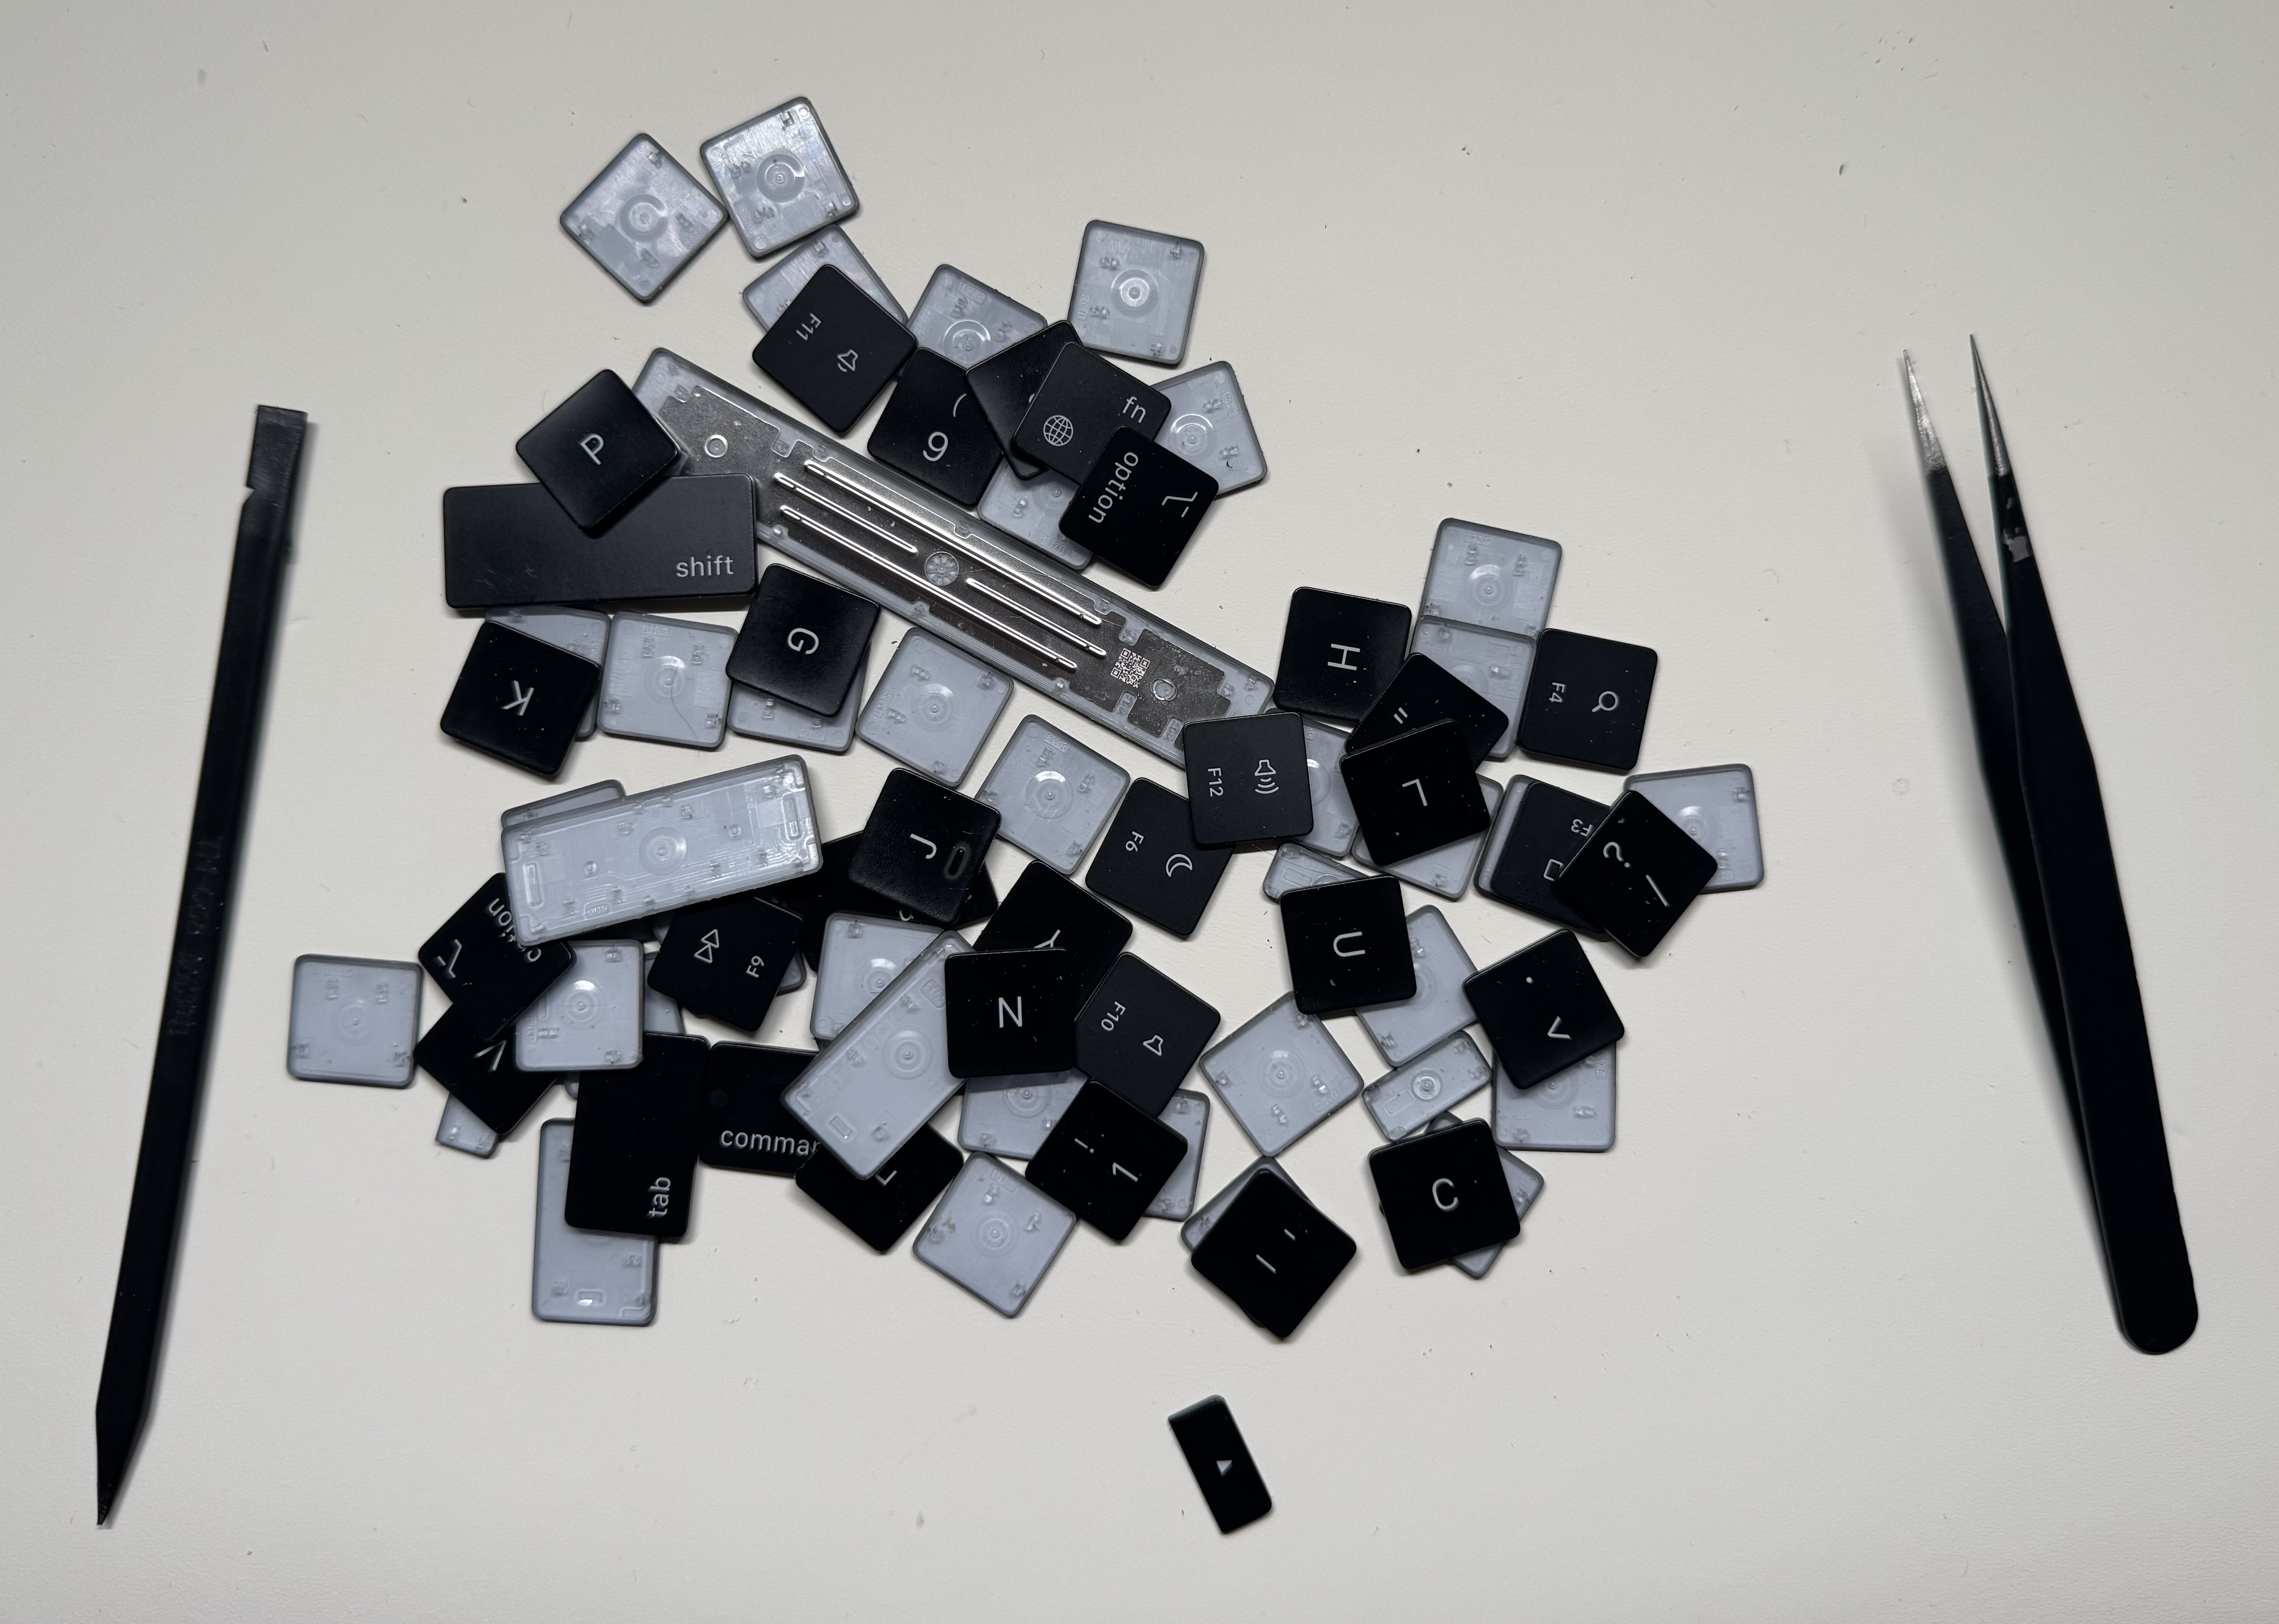
As we all know, once keycaps get greasy and shiny (“oiled”), it’s almost impossible to restore them by simply wiping. I once tried sanding the keycaps, but not only did it make things worse, the plastic debris also fell into the gaps between the keys. (You can see my sanded Shift and Space keys in the photo — they look terrible.)
While some say you can go to an Apple Store to get them replaced1, it’s said they only allow a few keycaps to be replaced each time. For someone like me whose entire keyboard is shiny, DIY replacement is clearly the more practical option.
I’m writing this blog post because I found it incredibly difficult to locate a complete guide on how to replace MacBook Pro M1 keycaps. Most of the videos online2 only show how to remove regular letter and number keys — they deliberately skip over the longer keys like Space, Caps Lock, ESC, and the arrow keys. These keys have different internal structures and require a different disassembly approach.
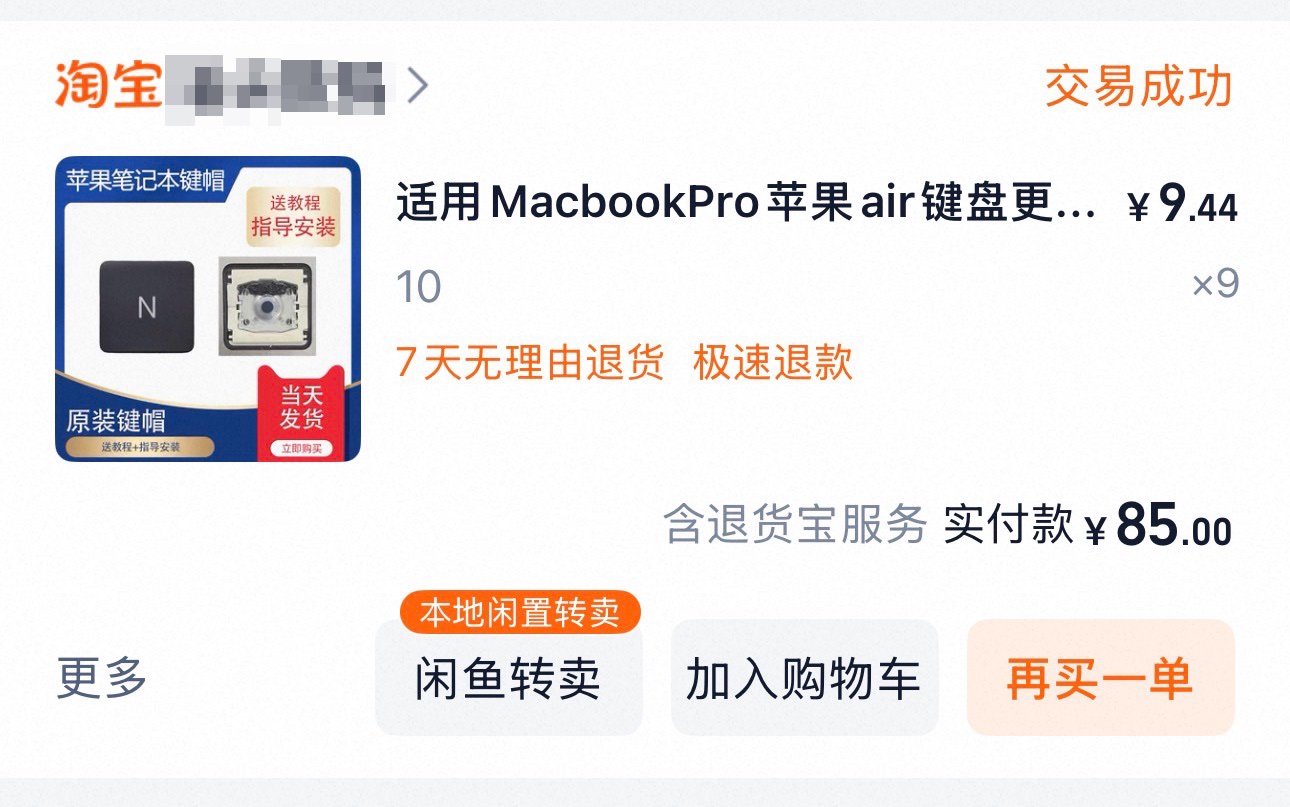
I bought a full set of replacement keycaps from Taobao for 85 RMB ($11.81 USD) and decided to do it myself:
#
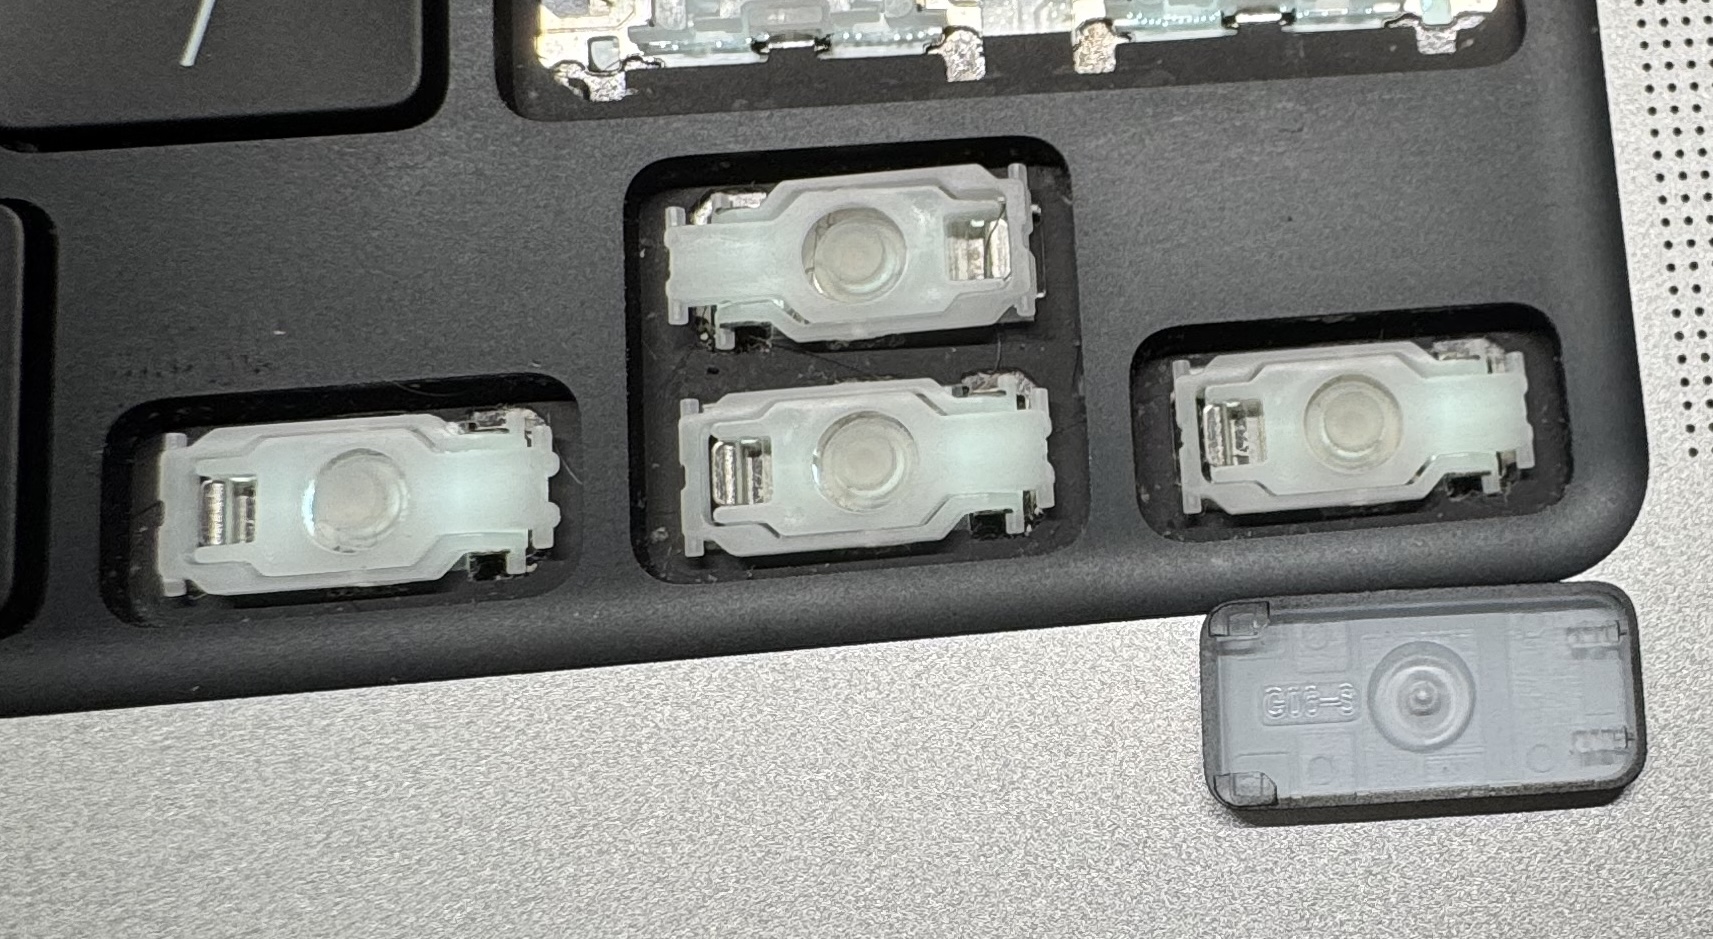
Removing the Old Keycaps
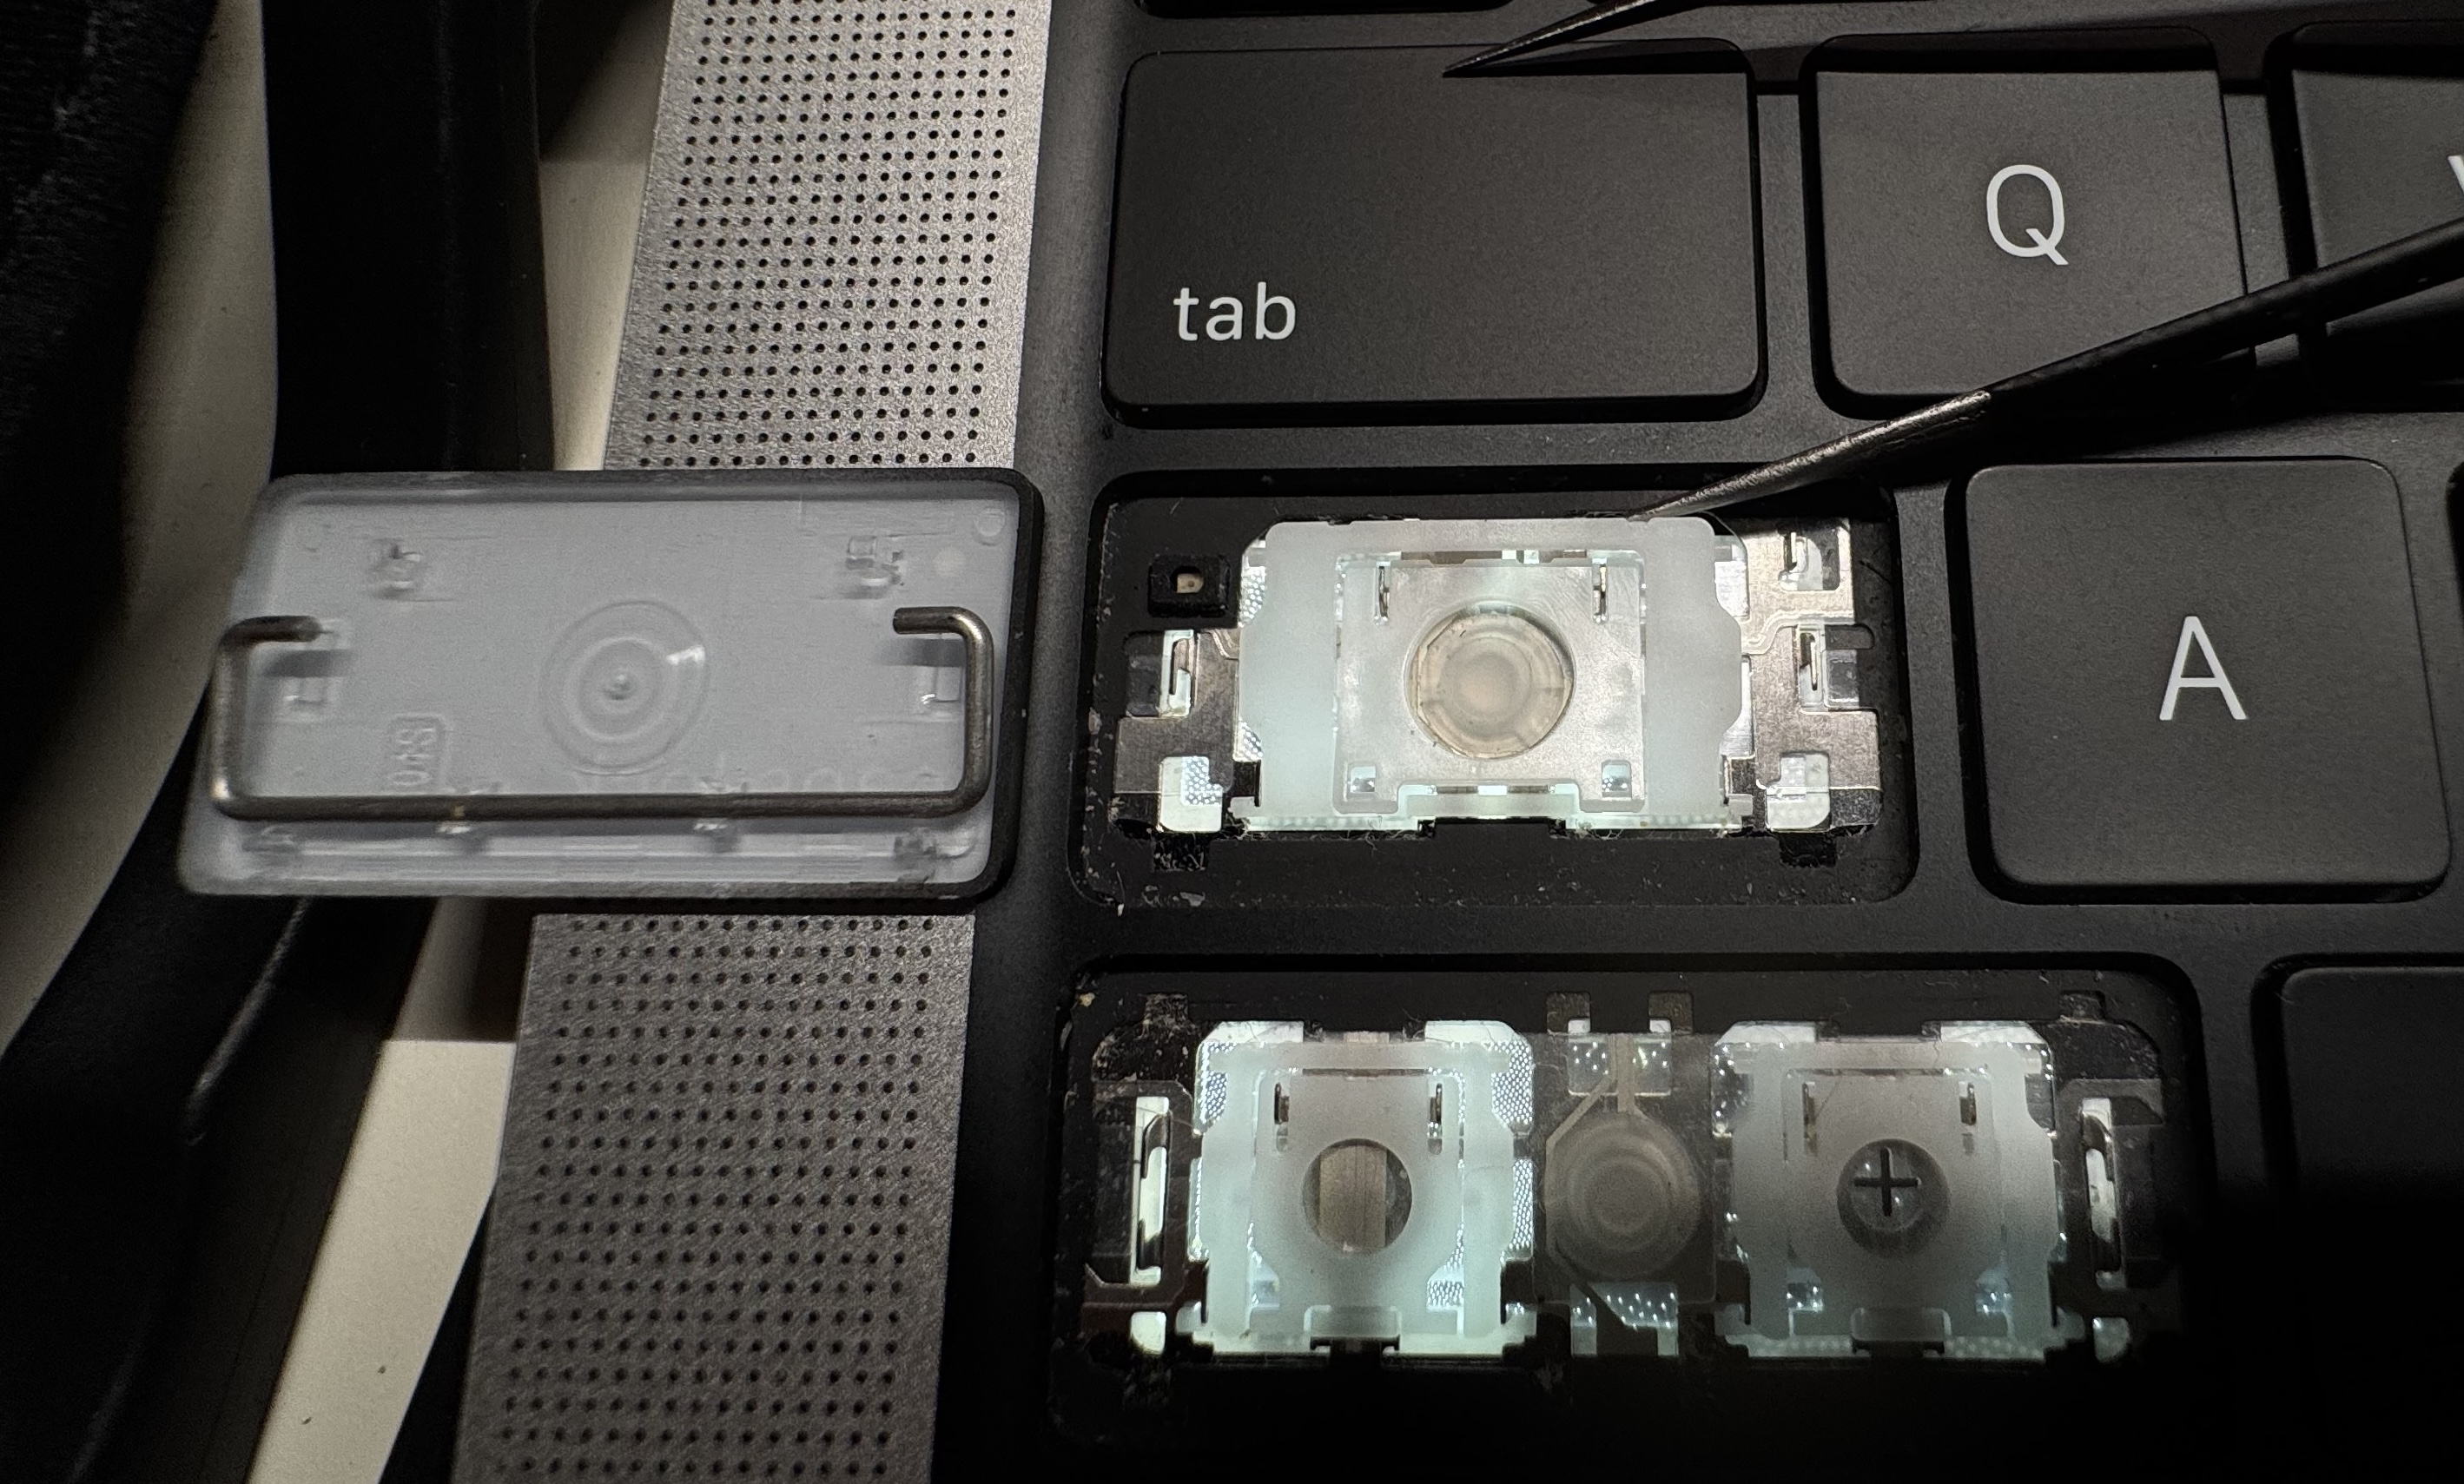
The MacBook Pro uses a scissor-switch keyboard mechanism, so we need to follow the correct disassembly procedure for scissor-switch keys.
##
Regular Key Disassembly
Steps:
- Locate the latches: Each regular keycap has four clips, one at each corner.
- Start at the bottom right: Gently lift the bottom-right corner with a spudger. A soft “pop” sound means the latch has been released.
- Then the bottom left: Do the same for the bottom-left corner.
- Lift the keycap: Once the bottom two clips are released, gently lift the entire keycap upward.
- Fully remove: The top clips will naturally detach.
Tips:
- ⚠️ Avoid applying excessive force — the scissor-switch mechanism is fragile.
- ⚠️ Never pull straight up — it may break the clips.
- 💡 Use a plastic spudger instead of metal tools to prevent scratches.
You can refer to this video2 — it clearly demonstrates how to remove regular keys.
To reinstall the keycap, reverse the removal steps: slide the keycap into the top clips first, then press down until it snaps into place.
⚠️ Be careful not to press too hard — the plastic components are delicate.
##
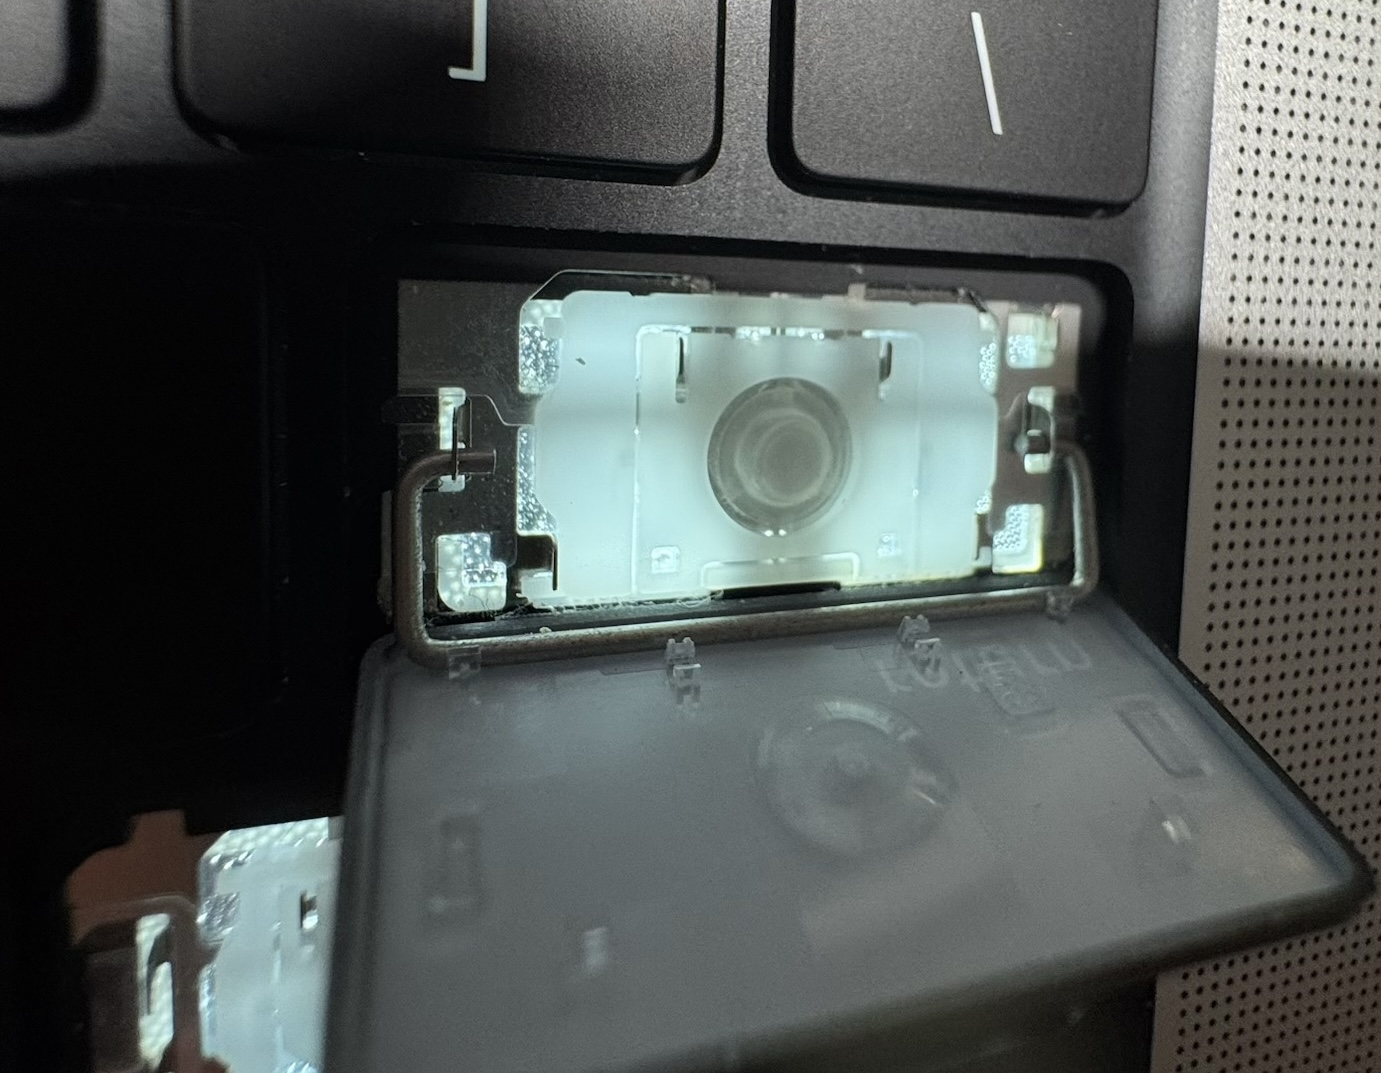
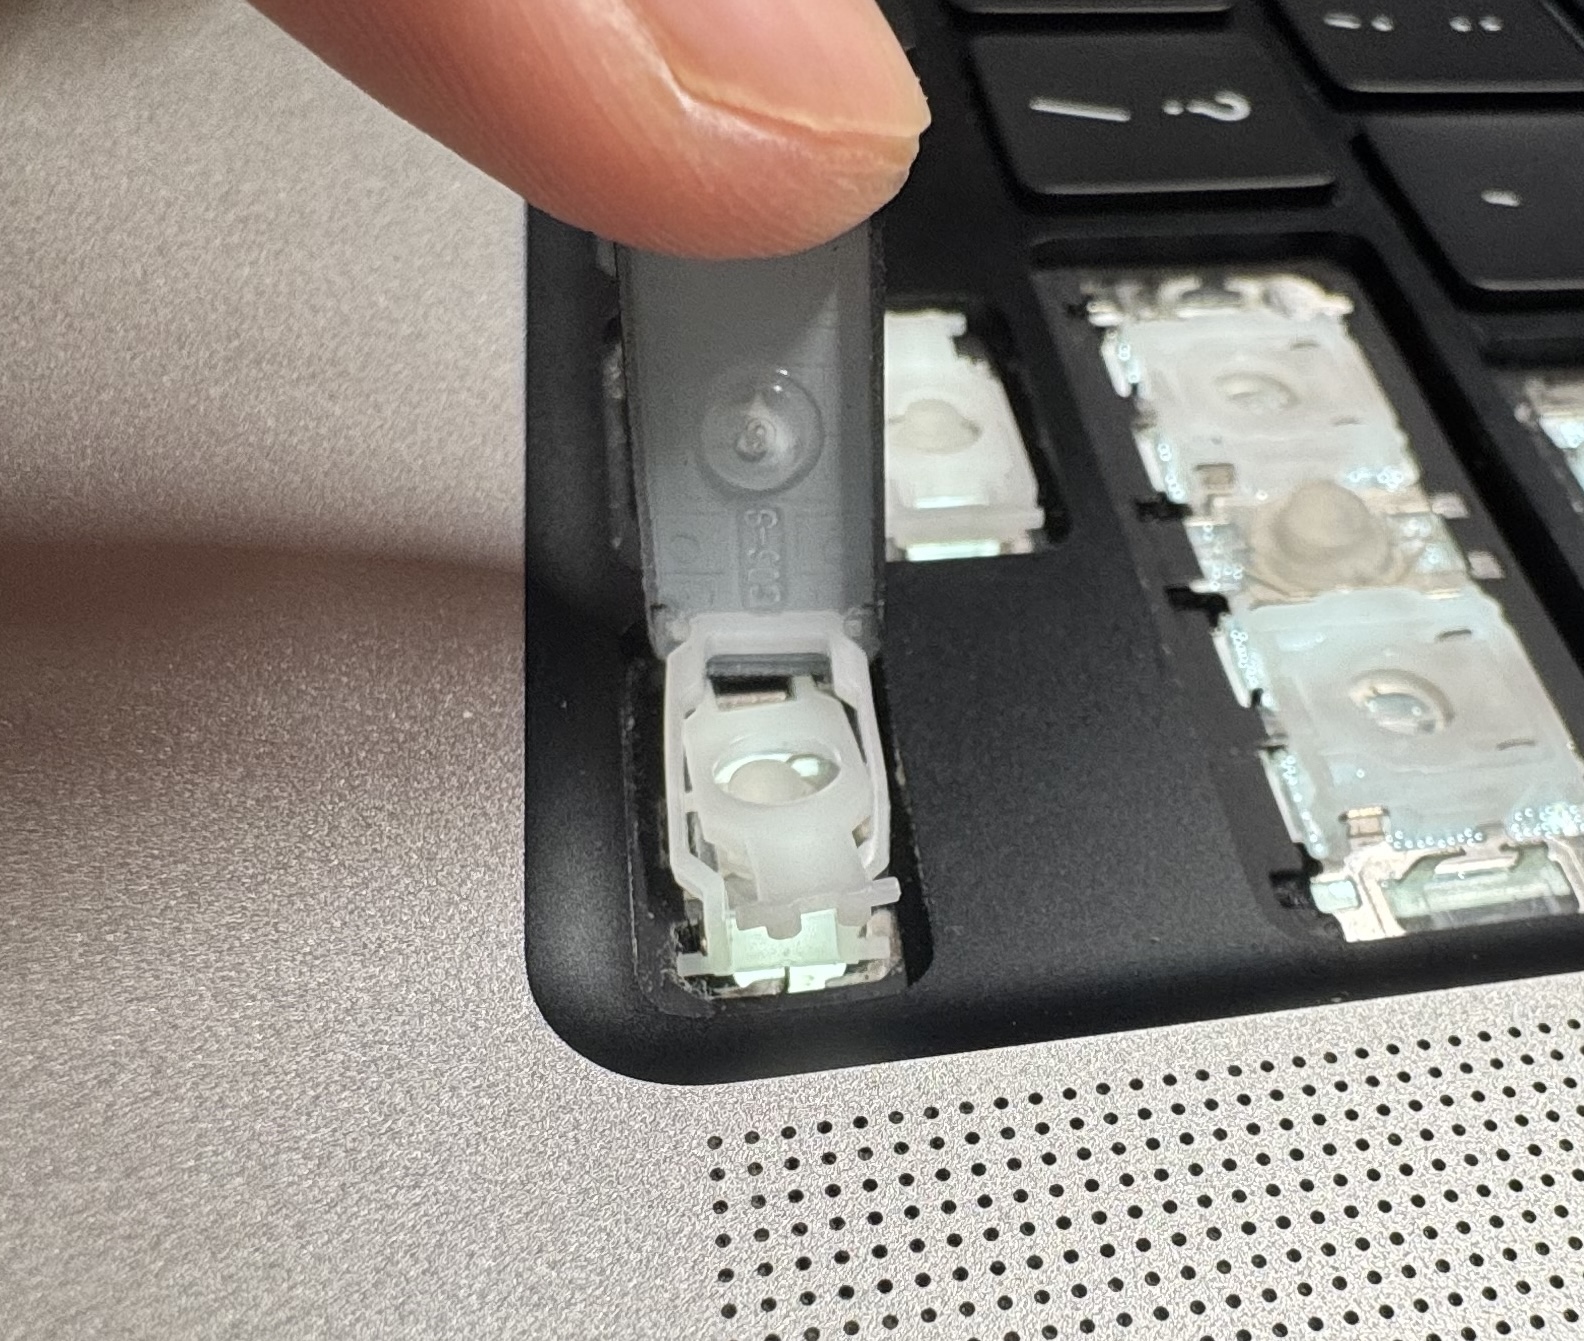
Long Key Disassembly (e.g. Shift, Caps Lock, ESC)
These larger keys usually contain one or two stabilizer wires (metal bars), making the structure more complex.
Removal Tips:
- Start from the bottom-right corner, then move to the bottom-left.
- Do not use excessive force — avoid bending the metal stabilizer sockets.
Installation Tips:
- For a single stabilizer wire:
Attach the metal bar to the keycap first, slide it into the slot on the keyboard, then press down to install as usual. - For two stabilizer wires:
Mount the top stabilizer wire to the keycap, and clip the bottom stabilizer wire into the keyboard.
First align the keycap with the top clips and press gently, then push the bottom part into place.
##
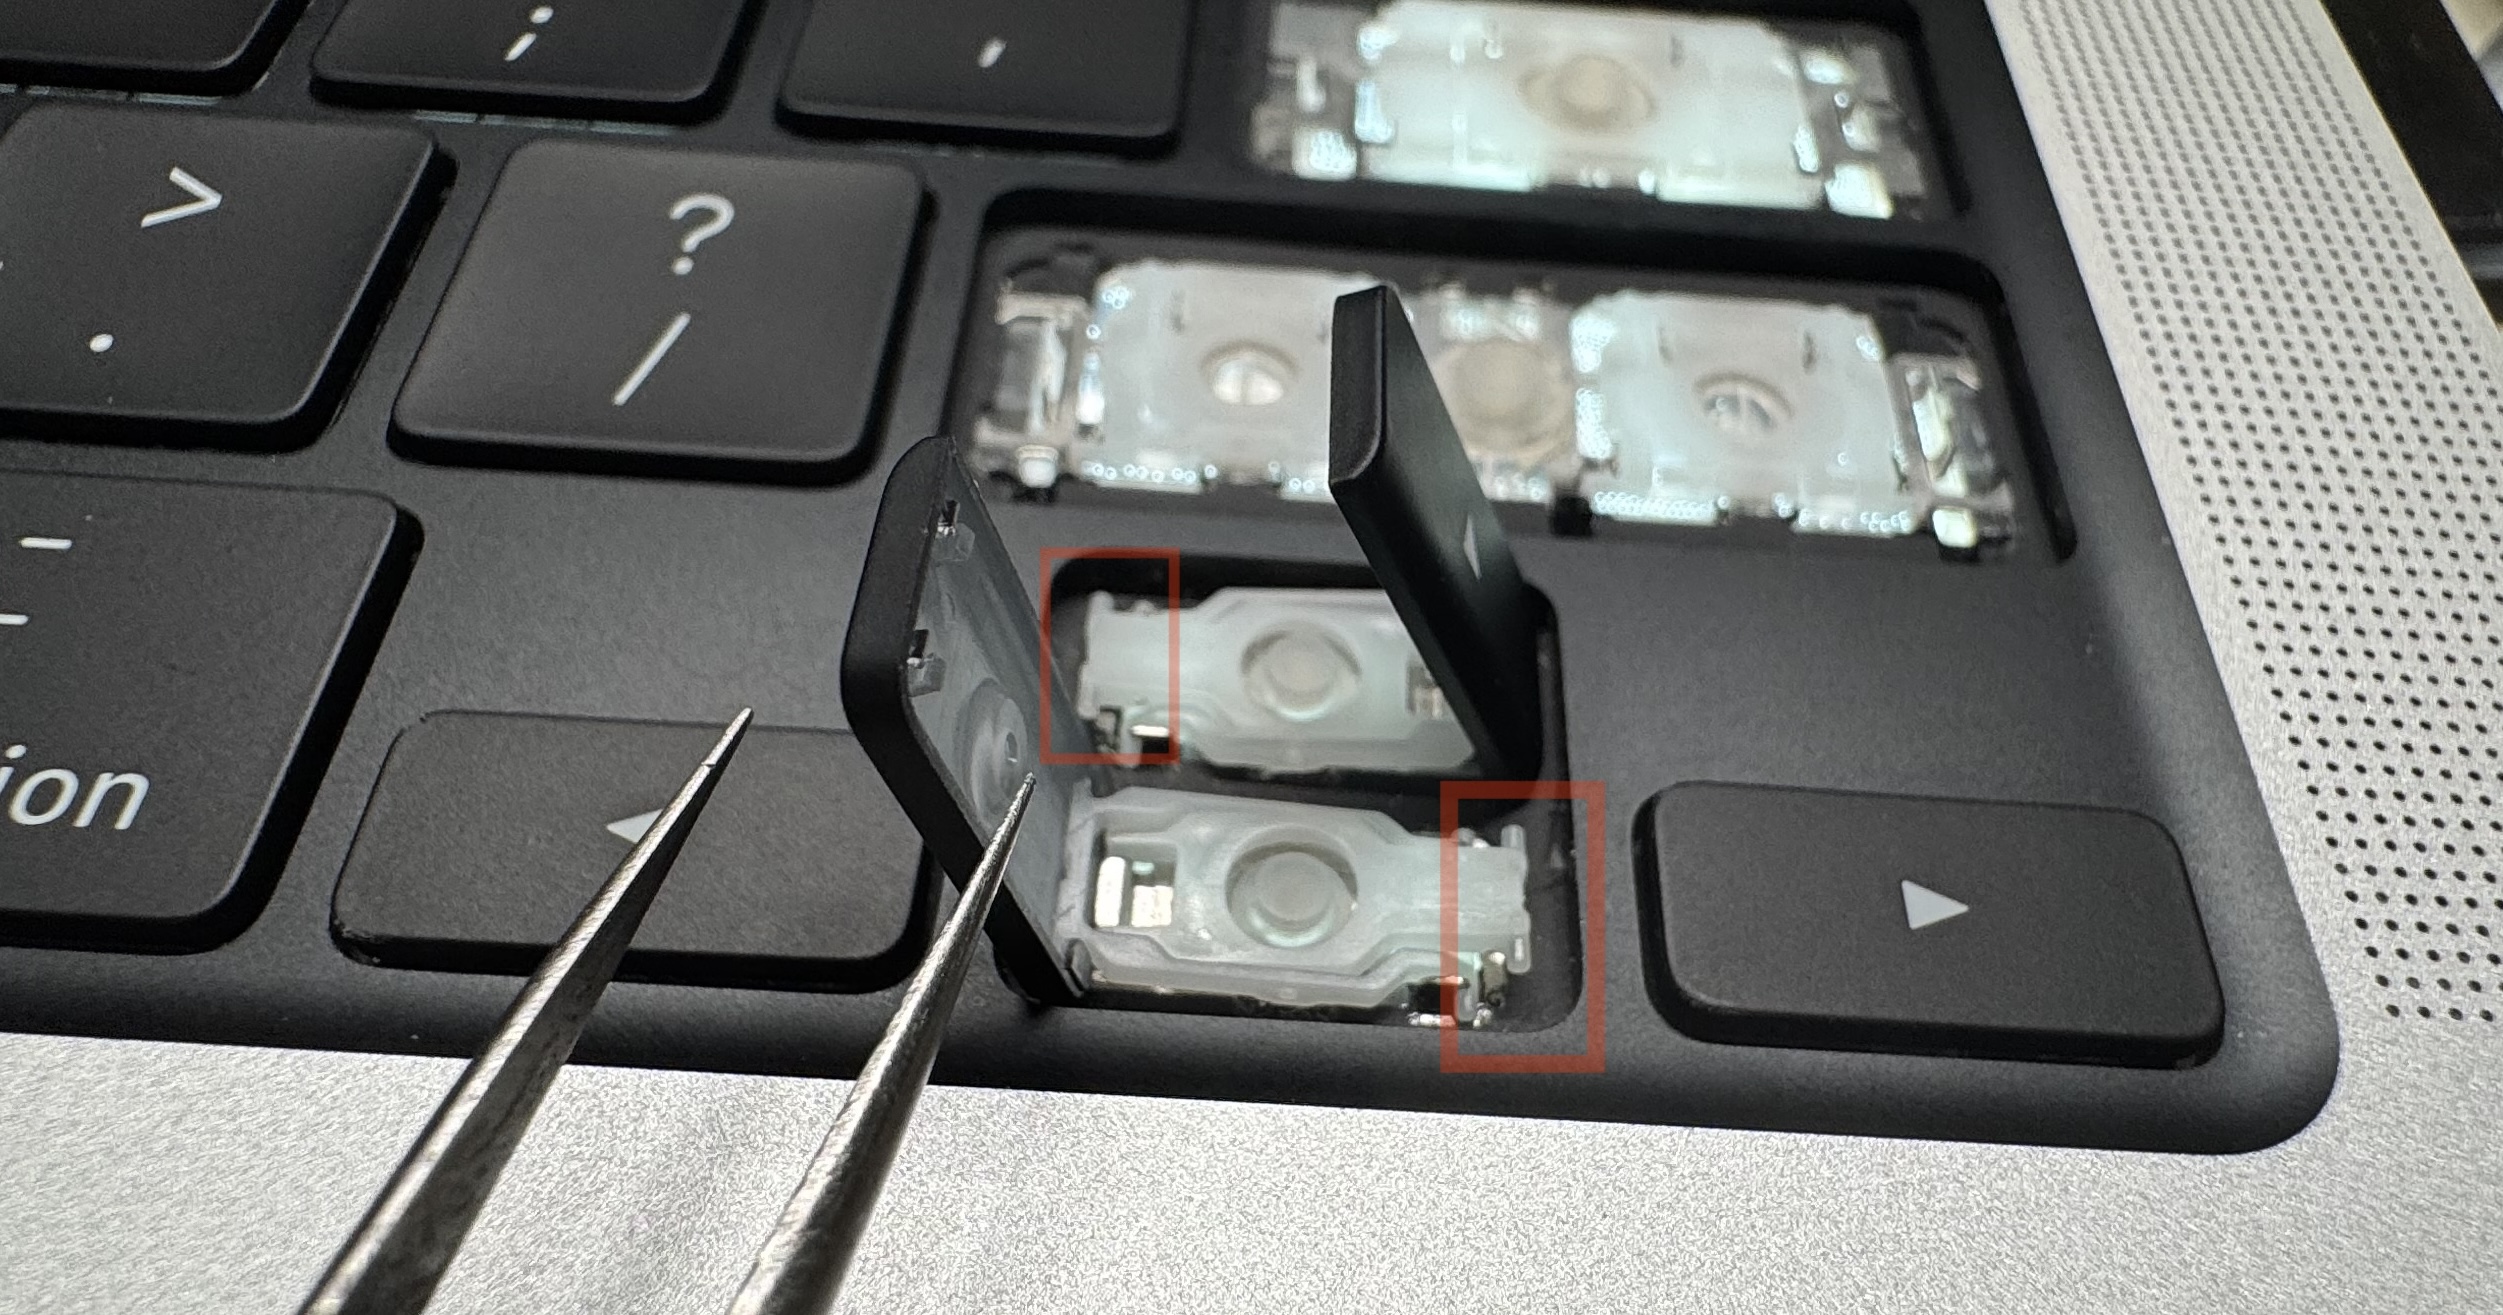
Short Key Disassembly (Arrow Keys)
- Up Arrow: First release the left-side clip, then slide the key to the right.
- Left/Down/Right Arrows: First release the right-side clip, then slide the key to the left.
(Before attempting this, refer to the structural images below.)
#
Summary
Be sure to check all removed keycaps before finishing — I realized I had left two stabilizer wires behind only when I was nearly done.
##
Troubleshooting
Key doesn’t feel right after reinstallation?
- Check if the stabilizer wire is properly clipped in.
- Ensure the scissor switch isn’t bent or broken.
- Remove the keycap and reinstall in the correct order.
Keycap easily falls off?
- Make sure all four clips are secured.
- Verify the stabilizer is installed in the correct direction.
Key feels stuck or unresponsive?
- Check for dust or debris underneath the cap.
- Ensure the scissor switch is properly aligned.
##
Pro Tips
If you’re unsure about your dexterity or notice any broken clips or switch parts, it’s best to:
- Contact Apple’s official repair service;
- Find a trustworthy third-party repair shop;
- Watch more tutorial videos and practice before diving in.